# Getting Started
Getting started with MissionKontrol is easy! Follow the short installation instructions below, enter your license key (see registration) and you're good to go.
# Registration
If you haven't already registered and got your license key, simply go here to register and get your license key. You'll need this key once you've completed the installatin instructions below to be able to enter the application and register a new user, organisation and database.
# Installation
Open a terminal window and run this command:
$ wget https://missionkontrol.io/auto-install.sh
Give it permissions so it can run:
$ chmod +x auto-install.sh
Run the installer:
$ sudo ./auto-install.sh --run
You should now be able to visit MissionKontrol by navigating to <your_domain>:3000 in your browser.
This should work for most operation systems. If you're struggling to get it working with these please check our more detailed instructions with more configuration options.
# Adding a new database
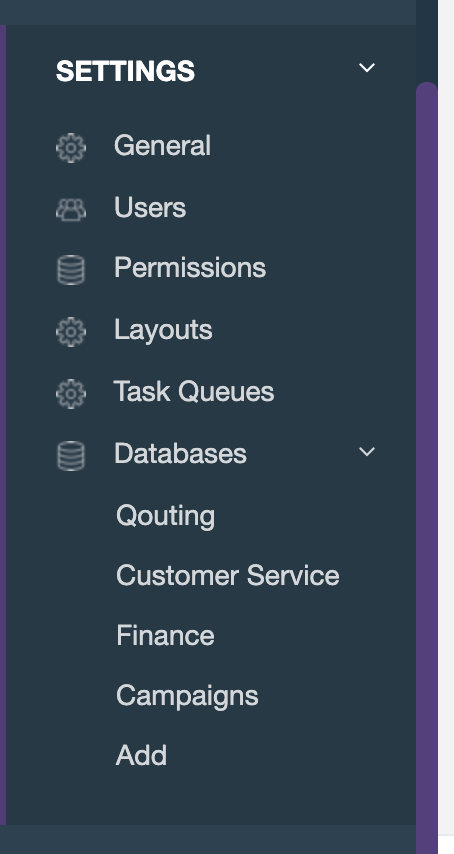
Navigate to the new database form by going to Settings > Databases > Add.
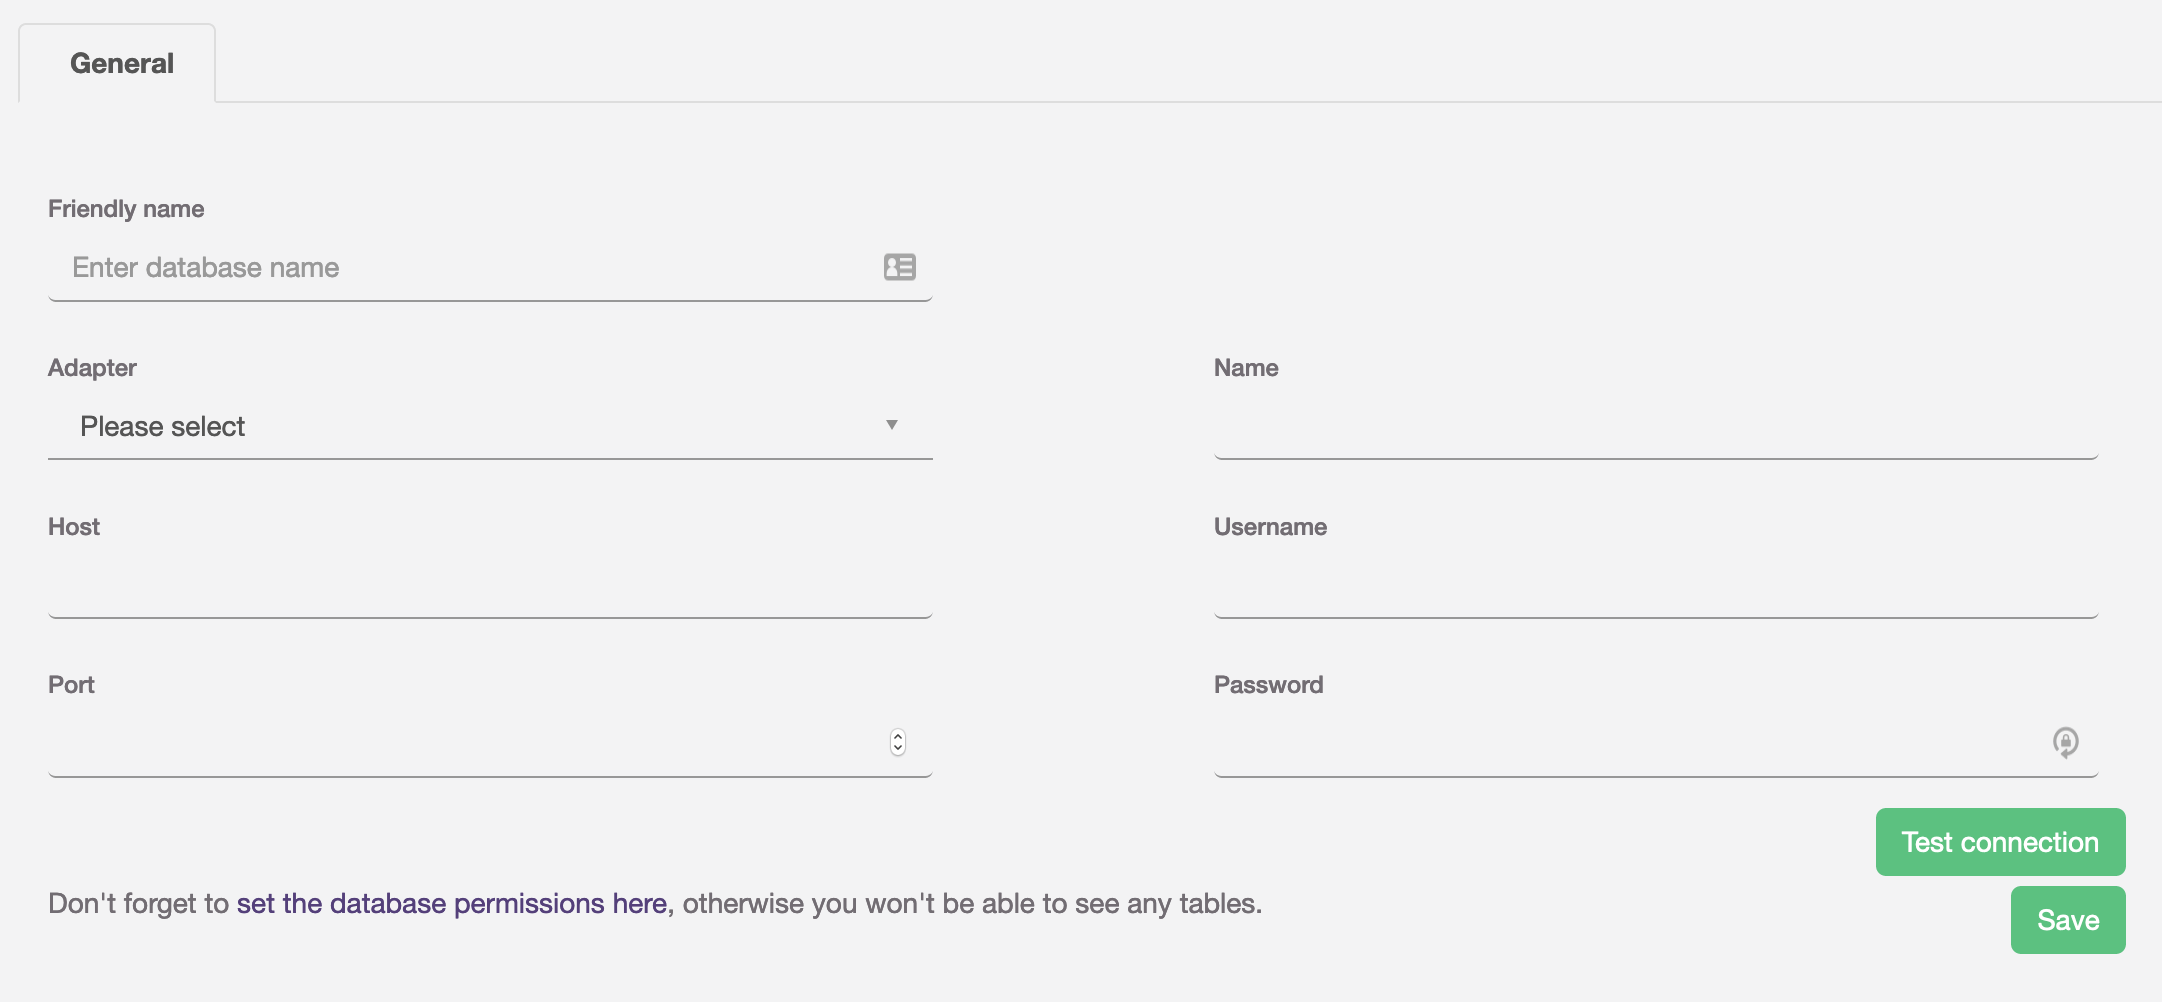
You're going to need the following details of your database for this bit!
Note
When you installed MissionKontrol, it creates it's own little database within the container. This is where it stores data, such as your database credentials, and any configuration and settings you set up in the application. This database is yours. We do not, and will never have access to this database.
| Field | Description |
|---|---|
| Friendly name | This is the name that MissionKontrol will use to reference your database |
| Adapter | PostgreSQL / MySQL |
| Host | The hostname or IP address for your database server |
| Port | The port for your database server |
| Name | The name of your database |
| Username | The username to connect to your database |
| Password | The password to connect to your database |
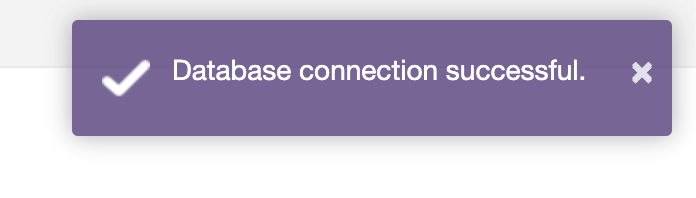
Once you've added your details, there is a handy little button you can use to test that the connection is working.
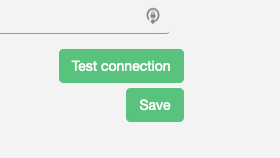
If the connection is happy you can go ahead and hit save.
Well done, you now have access to your database in MissionKontrol! Now you're going to need to set up some permissions...
When you first save your database details, MissionKontrol will connect to your database and retrieve a list of all the tables you have in your database. It does this so it can create the custom CRUD permissions for each table.
# Multiple databases
A unique feature of MissionKontrol is that it supports connecting to multiple databases simultaneously.
This means that if you have a microservices environment you can centrally access data across multiple sources.
Once you've set up one database, you can add as many more as you would like by following the same process for each new database.